Deploy a fullstack project to AWS
November 2023 (623 Words, 4 Minutes)
Fullstack projects
I deployed two fullstack projects (four servers) to AWS, all in one EC2 instance, to save resources. Introduction
- school CMS
- frontend: React
- backend: NodeJS
- todo List
- frontend: HTML+CSS+VanillaJS
- backend: NodeJS
Launch a AWS EC2 VM
Step 1
Click launch button on EC2 Dashboard
Step 2
Keep every setting default, except for your instance name and key pair If you don’t have a key pair (you should have one if you use Github), click Create new key pair, I would like to choose .ppk format, since it can be used with Putty
Step 3
Click Launch instance, then you can see a green success prompt.
Connect to instance
 Click the connect button, it goes to the Amazon Linux OS terminal
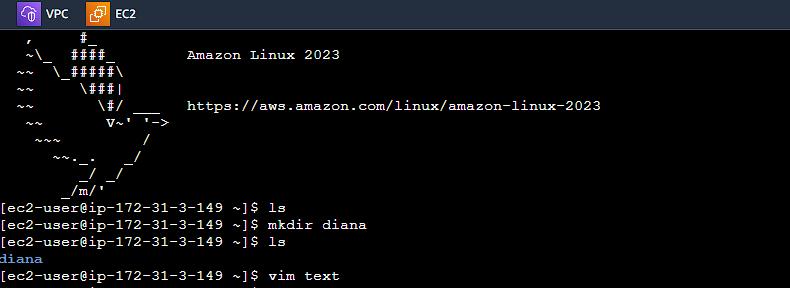
use Putty
Import yourKey.ppk to AWS Key Pairs if you didn’t create a new key in Launch a AWS EC2 VM-step 2
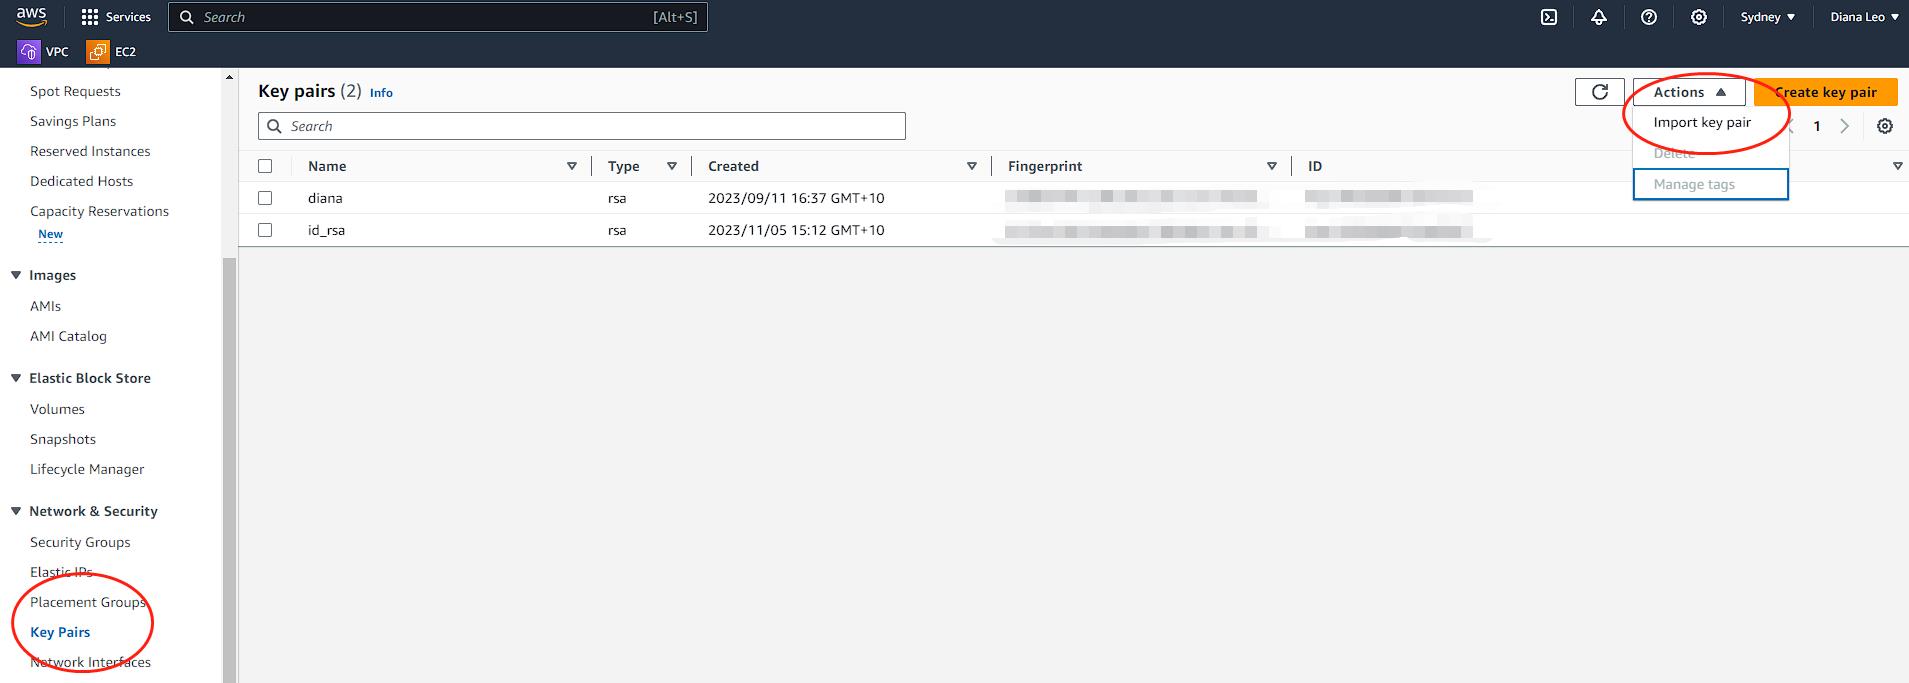 Then you can use Putty to connect to your ec2 instance to check if its SSH port 22
Clone github repo
Step 1 Install git
sudo yum update
sudo yum install git
Step 2 Import Github key to ec2 instance
You have to transfer your github private and public key to your ec2 instance
File transfer btw your local PC to AWS ec2 virtual machine by WinSCP
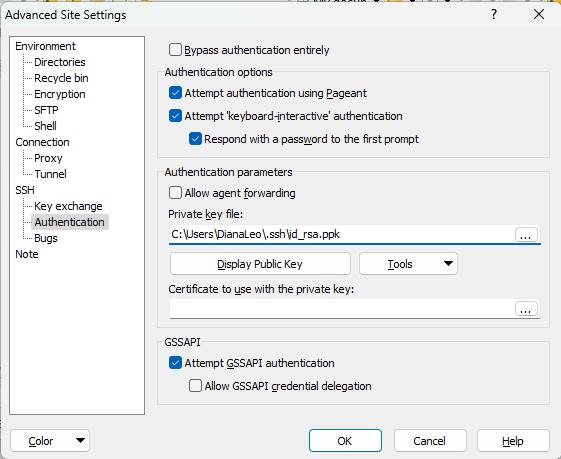
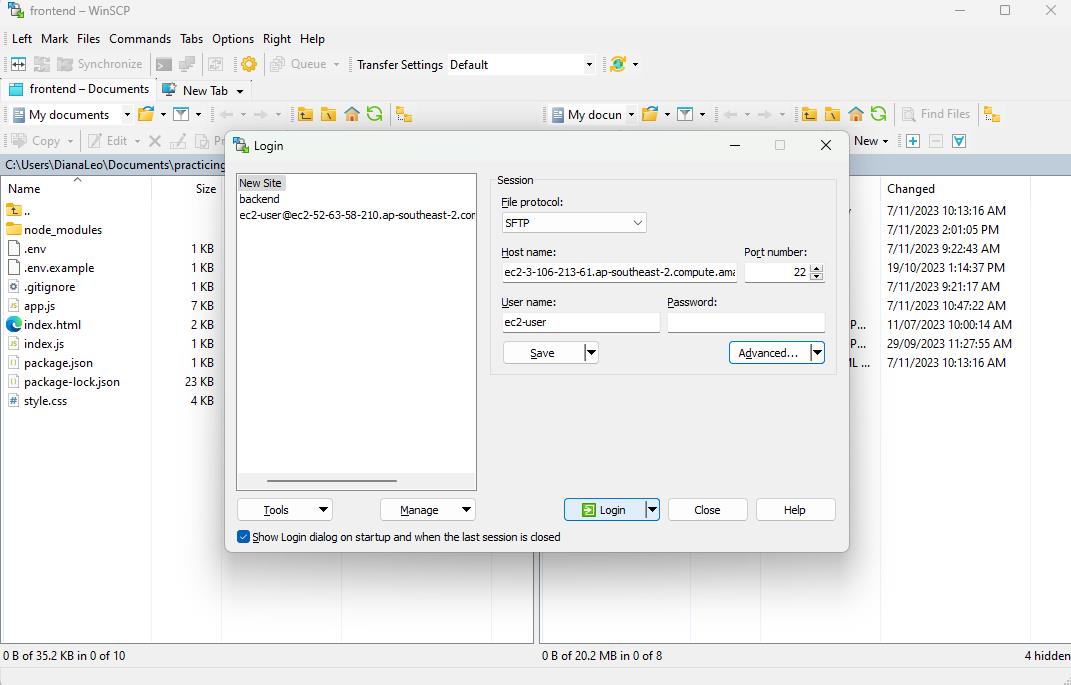 Go to Advanced to allow authentication
 Then you can transfer files by simply dragging btw the two windows
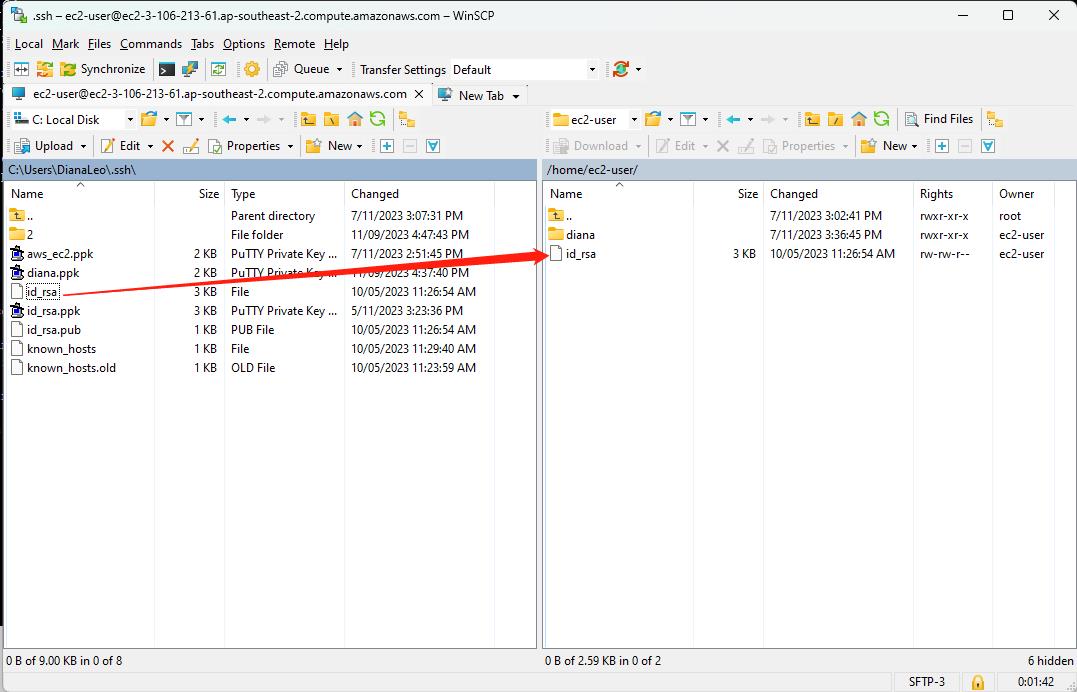
Drag them to anywhere in your ec2, and use this command to move two files to .ssh folder
mv id_rsa ~/.ssh
mv id_rsa.pub ~/.ssh
Then you should be able to clone your Github repo to your ec2 machine
mkdir diana
cd diana
git clone ***
But another error occurs:
 This is because when you transfer a file from outside, the permission of the file is read and write
You have to modify it to read only by
chmod 600 ~/.ssh/id_rsa
Then all clear
Test the servers
All of my servers are ran with NodeJS. So after npm i, I just run npm start to start all my servers
Port forwarding
Before accessing ec2 from public internet, access control has to be correctly configured. I have 2 projects, 4 servers:
- school_cms_frontend: localhost:3000
- school_cms_backend: localhost:8000
- todo_list_frontend:localhost:3001
- todo_list_backend: localhost:8001 In development mode, two frontends are running in port 3000 and 3001, two backends are running in port 8000 and 8001. In production mode, normally frontend are accessed with HTTP port 80, and user-end should not be able to access the backends directly.
Thus REVERSE PROXY and PORT FORWARDING are applied here.
On one hand, configure Nginx
- Install Nginx.
sudo yum install nginx or sudo dnf install nginx - Reboot the ec2 instance
- test and start nginx
sudo systemctl status nginx sudo systemctl start nginx - set up Nginx server block
cd etc/nginx
sudo vim nginx.conf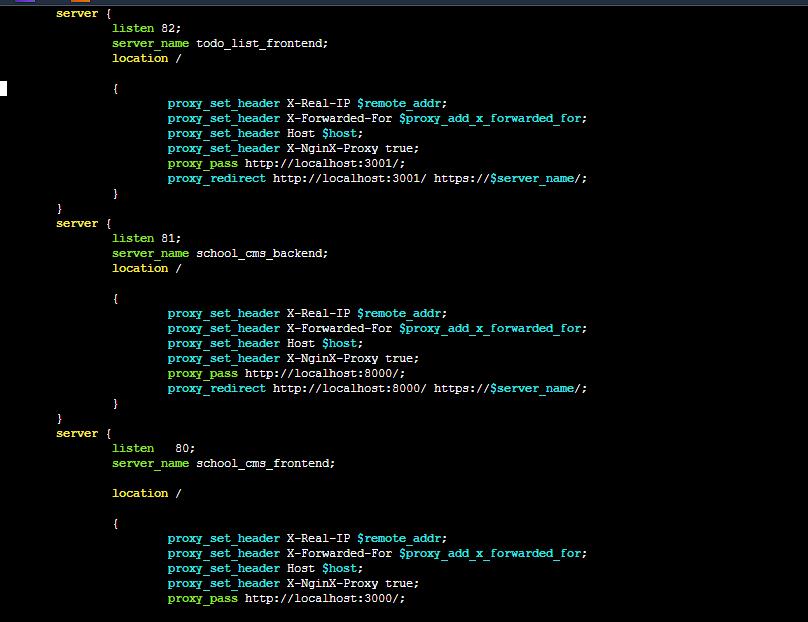
- Reboot the ec2 instance
Then port forwarding is finished
- school_cms_frontend: localhost:3000 to domain:80
- school_cms_backend: localhost:8000 to domain:81
- todo_list_frontend: localhost:3001 to domain:82
- todo_list_backend: localhost:8001 to domain:83
On the other hand, configure the security group (fire wall)
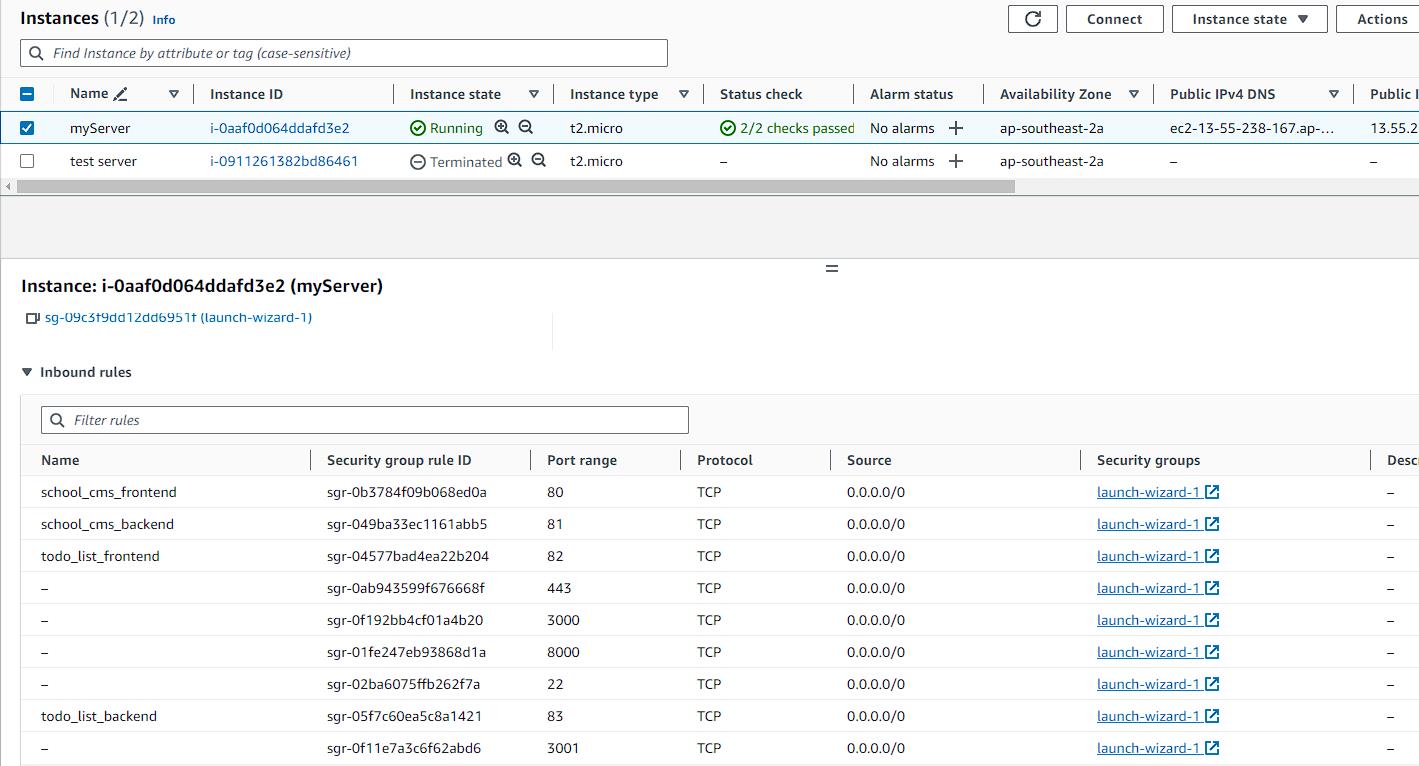
Both security group and nginx are related to internet safety and access control.
- Nginx works in HTTP layer. It is responsible for receiving requests from clients and forwarding them to different ports of the serving machine
- Security works in TCP layer. It is responsible for exposing specific ports to outside.
Run the servers
Run four servers in one terminal
(cd school_CMS/frontend; npm start)&(cd school_CMS/backend; npm start)&(cd todo_List/frontend; npm start)&(cd todo_List/backend; npm start)
But when you shut your PC down, the ec2 will be disconnected.
Run the servers even if you shut your local PC down.
This is realized by using screen command
Open a background session and give your session a name
screen -S shoolCMS_backend

Do what you want in one session

Repeat the above steps and then check your session list
screen -ls

All done! Hooray!
